Editable masks
Choose exactly where an effect appears. Draw a mask, select by color or brightness, or make a Smart Select cutout. Soften and animate the edges.
madphase / capabilities
Create layered artwork, animations, and live visuals in one desktop app. Shape every detail, move it to music, and keep experimenting with GPU-accelerated effects.
macOS · Windows · Linux Built for fast iteration ↗
01 / Composition
Arrange, group, and blend images, text, video, and 3D. Inspect any layer as you work. Explore how Energy’s composition comes together below.
Layers
signal finish
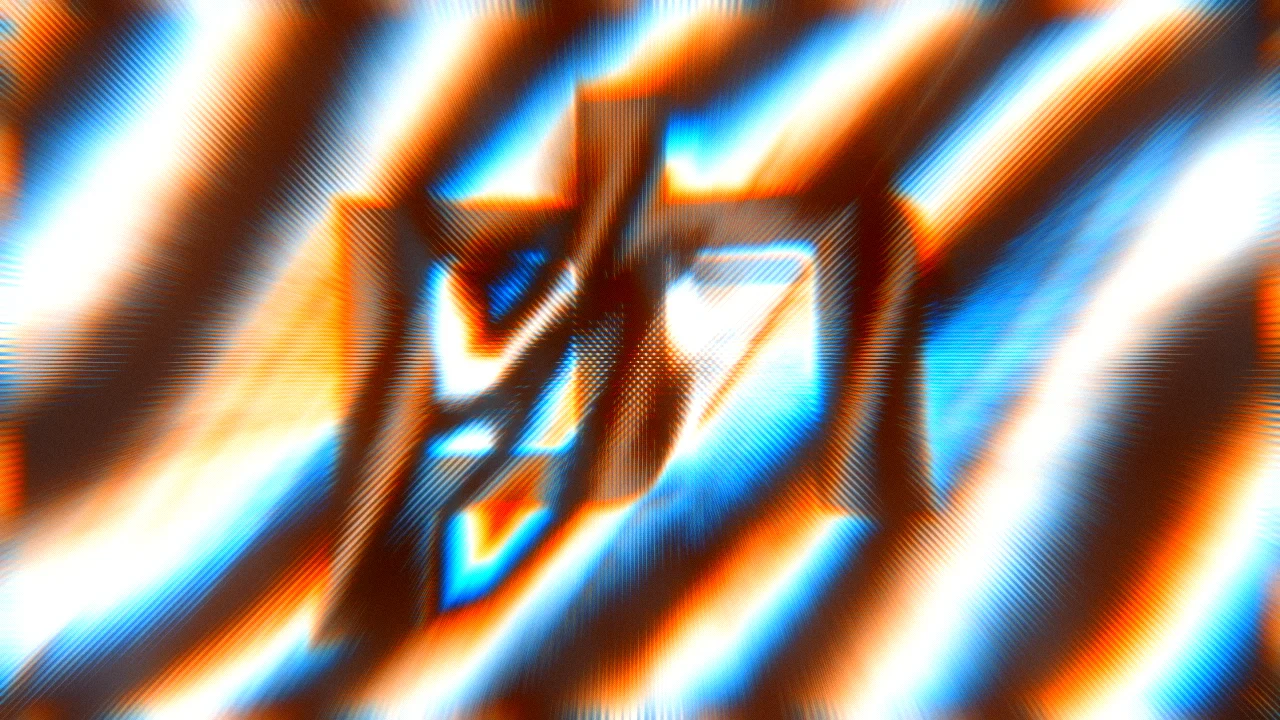
The final screen treatment adds composite-video character. In the project, dot crawl, chroma crosstalk, and signal noise have their own animation tracks.
Each view includes the selected layer and everything before it.
Every composition stage rendered entirely in madphase
The composition begins with a procedural cellular field. Cell size and jitter establish the large-scale structure before any imported artwork enters the stack.
A second generator mixes fine noise into the field at a reduced layer opacity. The balance between the two sources becomes material for everything that follows.
Zoom Blur pulls the generated texture outward. It turns the source into a directional field before the 3D artwork is composited.
The ph SVG becomes an extruded object with a chrome material, camera, and lighting. It remains a scene inside the stack, with its own editable geometry and transforms.
Dimension Lens reshapes the combined image. Lens power, radius, and scale turn the source geometry into the larger contours of the composition.
Refraction breaks the image into directional bands. Line spacing and scan direction control how the geometry is repeated and displaced.
Dither introduces a controlled pixel structure. Its pattern, density, and color settings shape the texture that the later light and signal effects will pick up.
This correction layer is neutral in the saved view. Its position before FFT EQ gives the artist a separate place to reshape the tonal input to frequency processing.
FFT EQ reshapes the image through frequency bands. The saved soft-smoothing curve changes the relationship between broad forms and fine texture.
Halation spreads a warm tint around bright edges. Threshold, intensity, and softness control where the image begins to glow.
A highlight-driven anamorphic flare adds directional light streaks. Its angle and intensity remain separate from the underlying refraction.
A second correction pass sets brightness and contrast after the optical effects. Separate correction layers let you shape the input and the finish independently.
This Glow layer is held back by its saved threshold, so this stage remains visually unchanged. Lowering the threshold or changing the radius lets the artist spread more light into the image.
Radial chromatic aberration separates color around the image. This is where the bright structure opens into the final spectrum of color.
The final screen treatment adds composite-video character. In the project, dot crawl, chroma crosstalk, and signal noise have their own animation tracks.
Choose exactly where an effect appears. Draw a mask, select by color or brightness, or make a Smart Select cutout. Soften and animate the edges.
Reuse the image from an earlier point in the layer stack. Blend it back in or give the same source a different treatment.
Move, resize, rotate, and crop on the canvas. Bend artwork with Puppet Warp or push it into shape with Liquify.
Dial in contrast, reshape color, and build a consistent look with curves, levels, gradient maps, and LUTs.
Start with images, video, text, shapes, brush strokes, or procedural generators. Add 3D text, SVG, shapes, and imported models with scene cameras, materials, and lighting.
Build on example projects and editable presets. Save your own projects with embedded or linked media, and return to their layers, animation, and source choices.
Generate images and video, edit, upscale, and outpaint with shared AI credits when available for your account. Results become ordinary layers you can compose with and refine.
Connect a paired AI client to inspect, edit, animate, and export through the app’s tools. Local MCP requires a valid madphase license; it does not consume madphase AI credits.
02 / Animation
Explore how the beat turns Energy’s logo and bands, then take a closer look at its animated texture.
Select a track to focus on what moves.
The beat moves the logo and bands; a repeating wave adds fine texture. Turn on sound to hear them together.
Logo and refraction curves follow the saved project. The analog focus view uses an amplified finish and a full-range LFO to make its modulation visible.
Music: Synthetic Storm — The Yard Woman
Rendered entirely in madphase
Set the start and end. Shape the movement between them with Bézier curves, smooth easing, or a sharp cut.
Build a rhythm without placing every keyframe. Adjust the speed, strength, and timing of a repeating movement.
Let a beat, frequency band, or volume drive an effect. Shape the response with attack, decay, and gain.
Blend earlier frames into the current image. Build echoes, delay color channels, or leave trails behind moving subjects.
03 / Live control
Control a composition with MIDI, react to live sound, or process a camera feed. Send the result to a display or another app.
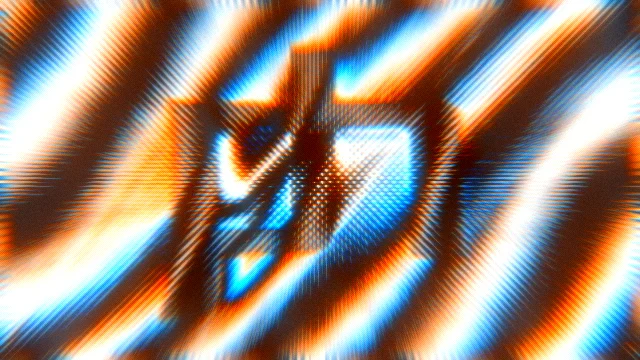
Visuals rendered entirely in madphase · Interactive control simulated on this website
Use knobs, faders, and buttons to control effects, show layers, and start playback. Connect MIDI devices or OSC software on the same computer.
Bring in a camera, capture card, or screen. Layer effects over the feed and let live sound drive the movement.
Send your finished visuals to a display, OBS, Zoom, or another compatible app. Record an audio-driven take to play it again.
Capture and virtual-camera setup depend on your operating system. Virtual-camera output is 1080p at 30 fps; receiving applications manage audio separately. Explore the workflow documentation ↗
04 / Effect depth
Discover a few of the visual directions you can take. Combine specialist effects with layers, masks, and animation to develop your own visual language.
Nine starting points. Much more to explore.
66 effect families and 185 sub-modes span image treatments, generated patterns, particles, temporal processing, and more. These artworks are a selection, not the full catalog.
All examples rendered entirely in madphase
Choose an example to see what you can make.
Selected example / 01
Pull pixels into currents, streaks, and fine trails. Start with the image’s own color and structure, then decide where order gives way to motion.
Keep a subject readable with a mask, then animate the surrounding trails.
Abstract artwork · motion textures · title treatments
Selected example / 02
Rebuild tone with a limited palette and patterned marks. Use fine grain for atmosphere or larger pixels for a more graphic treatment.
Combine dithering with analog signal effects and glow, as in this layered artwork.
Posters · lo-fi footage · graphic textures
Selected example / 03
Translate an image into lines, pixels, and short marks. Preserve a face or silhouette while changing the visual language used to draw it.
Animate the pattern while retaining the original subject’s recognizable structure.
Portrait treatments · music visuals · animated graphics
Selected example / 04
Use characters as the building blocks of an image. A familiar subject becomes a field of text, with tone and color carried by individual glyphs.
Blend a character layer over the source and use a mask to reveal the transformation selectively.
Typographic artwork · title sequences · digital textures
Selected example / 05
Build a source from generated patterns and noise. Develop a moving surface, then shape it with the same layers and effects used for imported media.
Use generated motion as a starting layer, then add distortion, color treatment, or masking.
Motion backgrounds · abstract surfaces · source textures
Selected example / 06
Grow cellular shapes and branching patterns through a simulated chemical reaction. Let repeated local changes develop into a larger evolving structure.
Layer the evolving pattern with other treatments to create organic textures and looping visuals.
Organic textures · abstract loops · animated surfaces
Selected example / 07
Build depth with geometry, cameras, materials, and lights. Bring the rendered scene into the layer stack for further compositing and effects.
Repeat forms into a scene, animate their rotation, and finish the result with image effects.
Spatial typography · product visuals · geometric loops
Selected example / 08
Organize particles into wave-driven sand patterns. Explore the meeting point between fine grains and larger, coherent structures.
Animate the wave parameters or connect them to audio drivers for a composition that responds to sound.
Music visuals · particle textures · live performance
Selected example / 09
Bring earlier frames into the present. Turn moving subjects into echoes and trails, then layer the result with other image treatments.
Use a moving subject to build trails, then combine temporal processing with color and texture treatments, as in Temporal Dancer.
Dance films · music visuals · motion trails
Break an image into flowing bands of color. Shape their spacing, direction, and strength.
Apply signal effects such as echo, chorus, and filtering to pixels. Create visual repeats and distortion; this effect does not produce sound.
Shape broad forms and fine detail separately. Use FFT EQ to smooth texture, sharpen structure, or reshape patterns.
66 effect families · 185 sub-modes, including reaction–diffusion, particles, relief lighting, and temporal effects. Explore the full catalog in the app ↗
05 / Performance & delivery
GPU-accelerated effects and cached renders reduce repeated processing as you edit. Lower preview resolution for demanding compositions, then export at your chosen size.
Supported effects keep image data on the GPU between stages. Stage caching reuses unchanged parts of a composition; animation frame caching stores rendered frames for playback and scrubbing. Some operations use the CPU. Speed depends on your hardware, resolution, sources, and effects.
Choose the format and quality for your finished image or animation.
Questions, answered
madphase is desktop compositing, animation, and live visual effects software from madpixel. It combines a non-destructive layer stack, editable masks, 3D scenes, timeline animation, audio-reactive controls, and specialist effects in one project.
Yes. Still, Video, and Live are working modes of the same project. Keep the layers, masks, and effects while moving from a finished image to timeline animation or a live performance.
Yes. External Inputs supports MIDI and same-computer OSC over UDP. Map supported parameters, layer visibility, and playback controls. In Live mode, parameter input regions define when an external source takes control; Video mode supports playback mappings.
Attach an audio file or use a video soundtrack to drive animation. In Live mode, use system audio or a microphone. Map level, frequency bands, beats, onsets, or drum hits to supported parameters, and adjust the response in the animation controls.
Yes. Live Video layers accept cameras and capture cards, plus screen or window capture where supported by the operating system. Canvas Output provides a clean presentation window. After platform-specific setup, the madphase virtual camera can be selected in OBS or another compatible camera application. Audio is configured separately in the receiving app.
Export still images as PNG, JPEG, WebP, TIFF, BMP, TGA, or EXR, and animation as MP4, MOV, WebM, or GIF. Video export includes frame-rate, codec, bitrate, and audio controls. Save the editable composition as a .mphase project.
Yes. madphase uses your GPU for supported effects and reuses cached results to avoid repeated rendering. Lower preview resolution for demanding compositions, then export at your chosen size. Some operations use the CPU; playback speed depends on your hardware, resolution, and effects.